Dockerfile
Docker is a tool that makes it easy to run applications in containers. Containers are like small packages that hold everything an application needs to run. To create these containers, developers use something called a Dockerfile.
A Dockerfile is like a set of instructions for making a container. It tells Docker what base image to use, what commands to run, and what files to include. For example, if you were making a container for a website, the Dockerfile might tell Docker to use an official web server image, copy the files for your website into the container, and start the web server when the container starts.

TASKS:
- Create a Dockerfile for a simple web application (e.g. a Node.js or Python app)
Before moving forward with the creation of Dockerfile, you need to install docker in your server. We have seen the steps to install docker in the previous article (Day 16).
Link is below:
How to install Docker on Amazon Linux 2
Build the image using the Dockerfile and run the container
Verify that the application is working as expected by accessing it in a web browser
Push the image to a public or private repository (e.g. Docker Hub )
For this you first need a AWS EC2 instance of your own choice.
Once you are done with creating a EC2 instance you need to SSH into it.
Below are the steps that we will be going to perform in the process:
Install Git and clone the repo of the Node.js application
Install Docker
Create and configure a Dockerfile
Build a Docker image
Create and run a Docker container
Access it
1. Clone the repo of the Node.js application
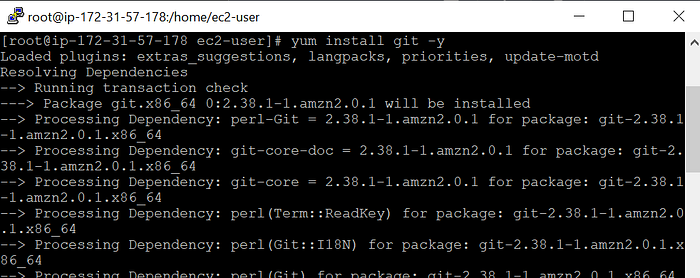
Open the instance, first you need to install Git in it so that we can clone the application repository from the GitHub(VCS). Use command :
#yum install git -y

Now clone the application repository, using the command :
#git clone https://github.com/rajani103/nodejs-on-ec2.git (git URL of repo)

2. Install Docker
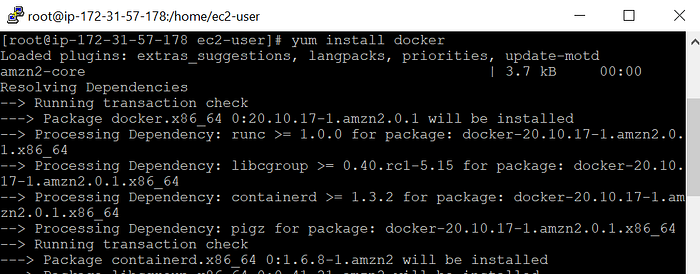
Install Docker in the machine using the command :
#yum install docker -y

Now check the version of the docker once and start the docker and check the status of the docker to know if it is running using the below commands :
#docker -v
#systemctl start docker
#systemctl status docker

3. Create and configure a Dockerfile
Now we will create and configure a dockerfile as per the requirement of the Node.js application. Change the directory to the cloned project and create Dockerfile there.
Here is the Dockerfile that I have created :
FROM node:16
WORKDIR /app
COPY package*.json ./
RUN npm install
COPY . .
EXPOSE 80
CMD ["node", "index.js"]
You can check my previous blog for understanding the Dockerfile.

4. Build a Docker image
Now before starting the build process check if there is any existing container running with the same name.
Use command :
#docker ps
#docker ps -a
Now you are all set to build the image. Use command :
# docker build . -t app


5. Create and run a Docker container
Using the image that has been built we will create a container out of it and run it:
Use the below commands :
# docker run -d --name nodejs-app-cont -p 80:80 app:latest
You can see a container running here which can be accessed on port 80 as we have done the port mapping on port 80.

6. Access it
Now you can take the public IP of the machine and port 80 to access the application.

And yess!! it is accessible.🌻✨
7. Pushing the image on DockerHub
We have already created a Docker image using the Dockerfile. Check all the images present by using the command.
docker images
Now we will login into the DockerHub by adding the command:
Docker login
Put your username and password here. If the login is successful, then you will get a message like Login Succeeded.
Now tag the locally created image to the docker hub. This means we have to tag the image with the docker hub username.
docker tag app:latest rajjo103/app:latest
Now push the image to the Docker hub using the push command.
docker push rajjo103/app:latest
And it is done, you can check in your Docker hub if it is pushed.
